Learn how to send custom bell notifications using Salesforce Flow. This guide includes step-by-step instructions on how to create a custom notification, create a flow, and send the notification.
In today’s fast-paced business environment, effective communication is essential for engaging users and driving meaningful interactions. Salesforce Flow provides a powerful toolset to automate business processes and with its robust capabilities. In Salesforce you can easily create and send custom notifications tailored to your organization’s unique needs. In this blog post, we will explore how to leverage Salesforce Flow to send custom notifications, empowering you to deliver targeted messages and enhance user engagement also this can be a great way to keep users informed of important changes or updates to records.
Table of Contents
What is a Custom Notification?
A custom notification refers to a personalized message or alert that is specifically designed and sent to individuals or a targeted group of users within an organization. Unlike generic or standard notifications, custom notifications are tailored to the unique needs and preferences of the recipients.
Custom notifications can be sent to users via the Salesforce mobile app, or the Salesforce desktop app.
Custom notifications can be used to notify users of a variety of events, such as:
- A record has been created or updated
- A task has been assigned to a user
- A lead has been converted to a customer
- A deal has been closed
Also if you want to learn how to send email using Flow click here.
Using Flow to Send Custom Notifications
Creating a Record-Triggered Flow to Send a Custom Notification
Today we will create record record-triggered flow to send custom notifications to the account owner when the Deal is won.
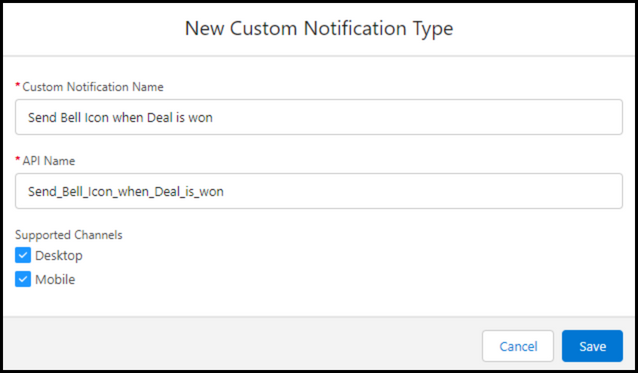
So first we will create a new custom notification.
In Salesforce go to Home and search Custom notification then create a new custom notification, as per below.
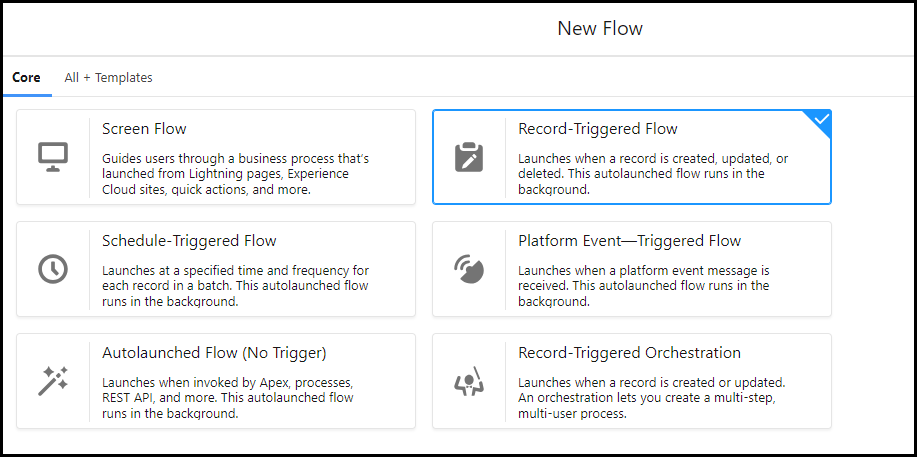
Now let’s create a flow to trigger custom notifications.
To create a flow go to Home and search flow, then click New Flow and choose record triggered flow.
Then choose the object as Opportunity and trigger when the record is updated. Also, I have added an entry condition as the stage name is closed won and the stage is changed.

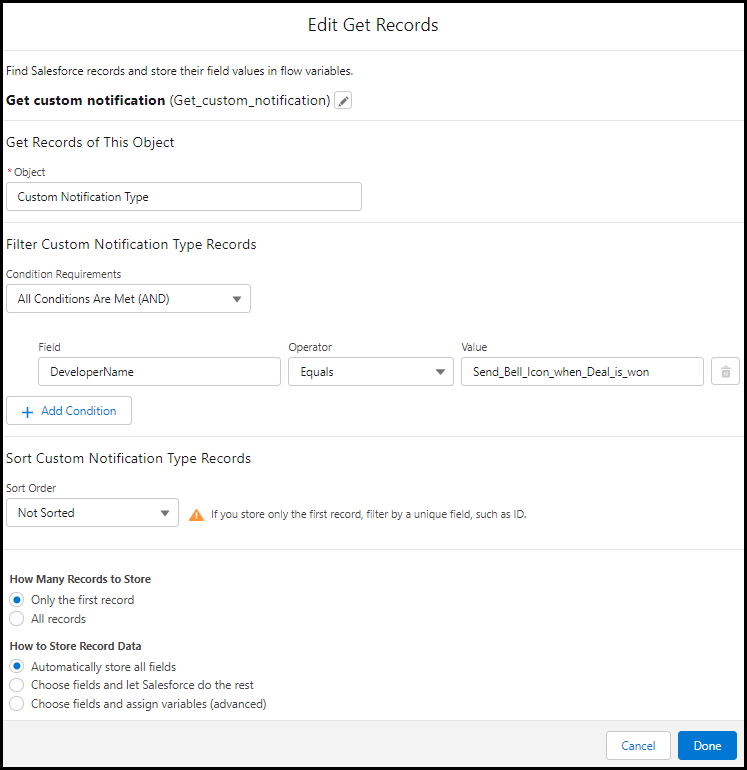
Next, add the Get Records element and then select the object as a custom notification type and add filter condition as the custom notification name.
Read the best salesforce Books: Click Here.
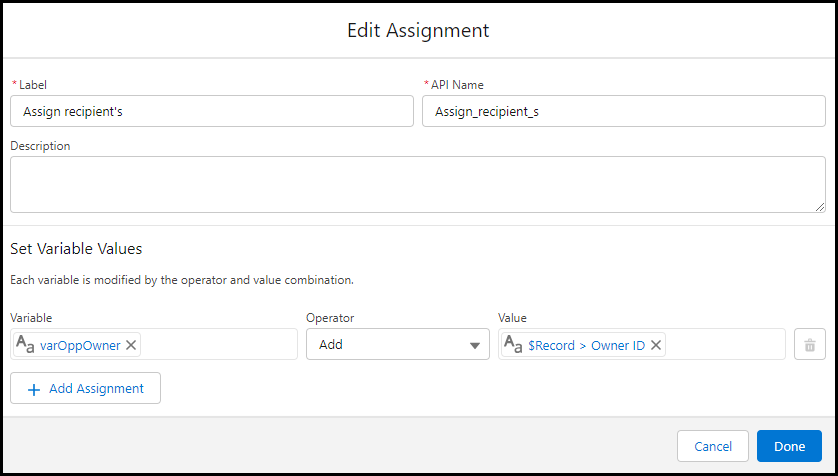
Then add an assignment element to store opportunity owners ids. Also to hold this, we will create on variable as below.
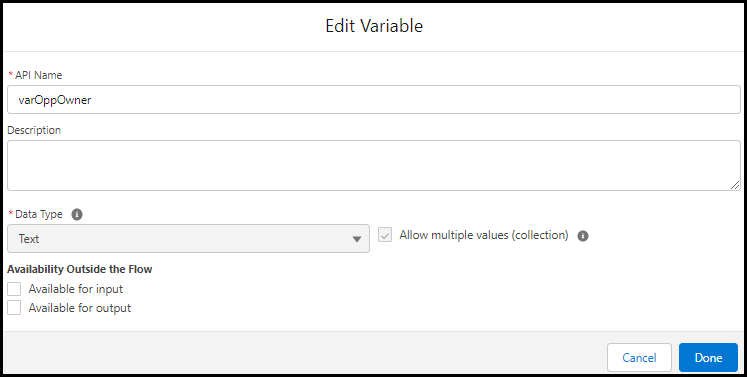
Now we will use this variable in the assignment element as below.
Then add the action element to the canvas, search Send Custom Notification, and select it. All the required parameters as below.
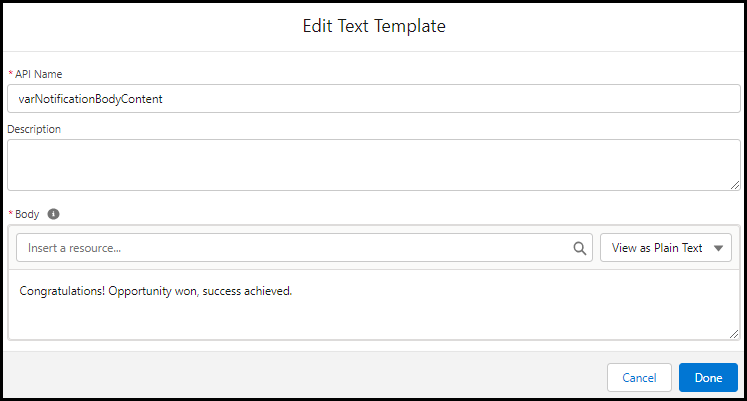
Now in set input values, you can see the Notification body, and for that one variable is created to hold the value in the text template, as below.
Once you fill in all input values, your action element looks like this.
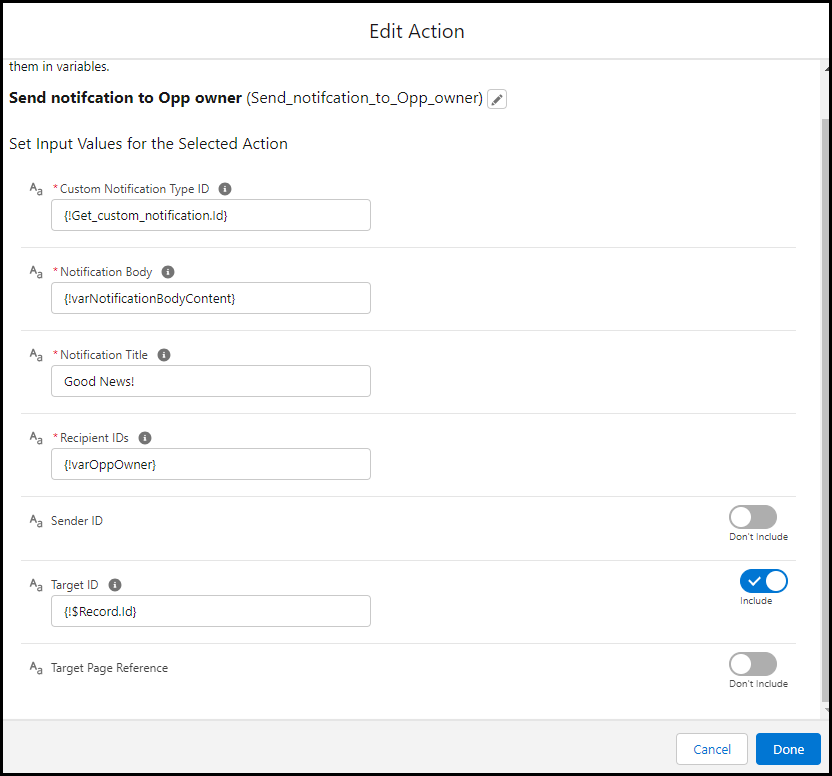
In the above action element, you can see Target Id, if we select that as {!$Record.Id} Then whenever we click notification in UI, it will go to the respective page, so here it will go to the opportunity page. Please check the output video to find out.
Now you are done with the flow. Let’s check out the final version of the flow.
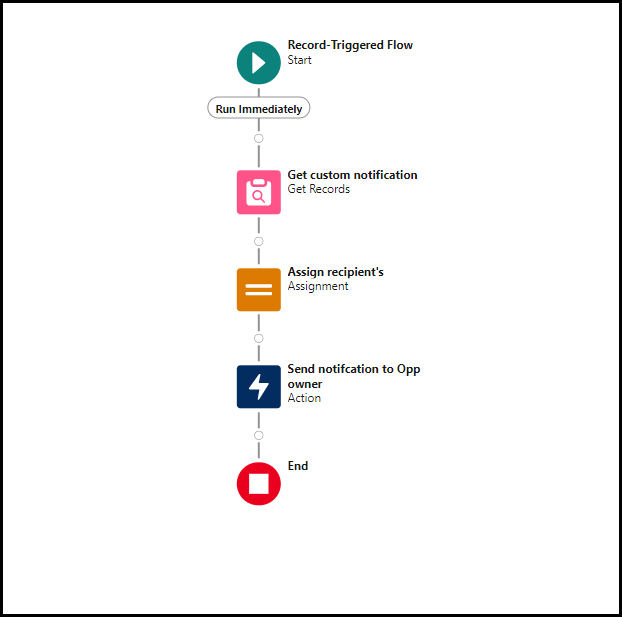
Output
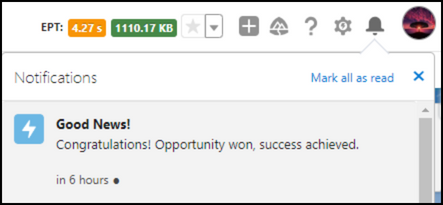
Activate the flow and test it accordingly. In our case, if the opportunity is won then we are triggering custom notification. So you will receive the notification as below.
Conclusion
In this post, we showed how to use custom notification in flow. Follow our other post related to salesforce and please share it with your loved ones.
If you want to understand more about custom notifications, click here.
Related Quick Links
- Read the best salesforce Books: Click Here.
- HTTP Callout in Salesforce Flow Without Code [GET & POST]
- How to Invoke a Flow from a Lightning Web Component
- How to update child records using salesforce flow
- How to Assign records to Queue using Salesforce Flow?
- How to create a Data Table in Salesforce Flow : Complete Guide.
- How to retrieve record Type Id in flow
- How to navigate record detail page in flow
- How to send email using flow in salesforce
- How to Display Icon In Lightning Datatable
- How to Create Record in lightning Component
- How to Delete Multiple Records Using Checkbox In Lightning Component.